OpenLearning Webhook Connector
Set up a Webhook Connector to receive events from OpenLearning in real time.
The steps below walks you through creating and setting up a webhook connector, whether via the Institution UI or using our APIs.
Create Webhook Connector via UI
Step 1
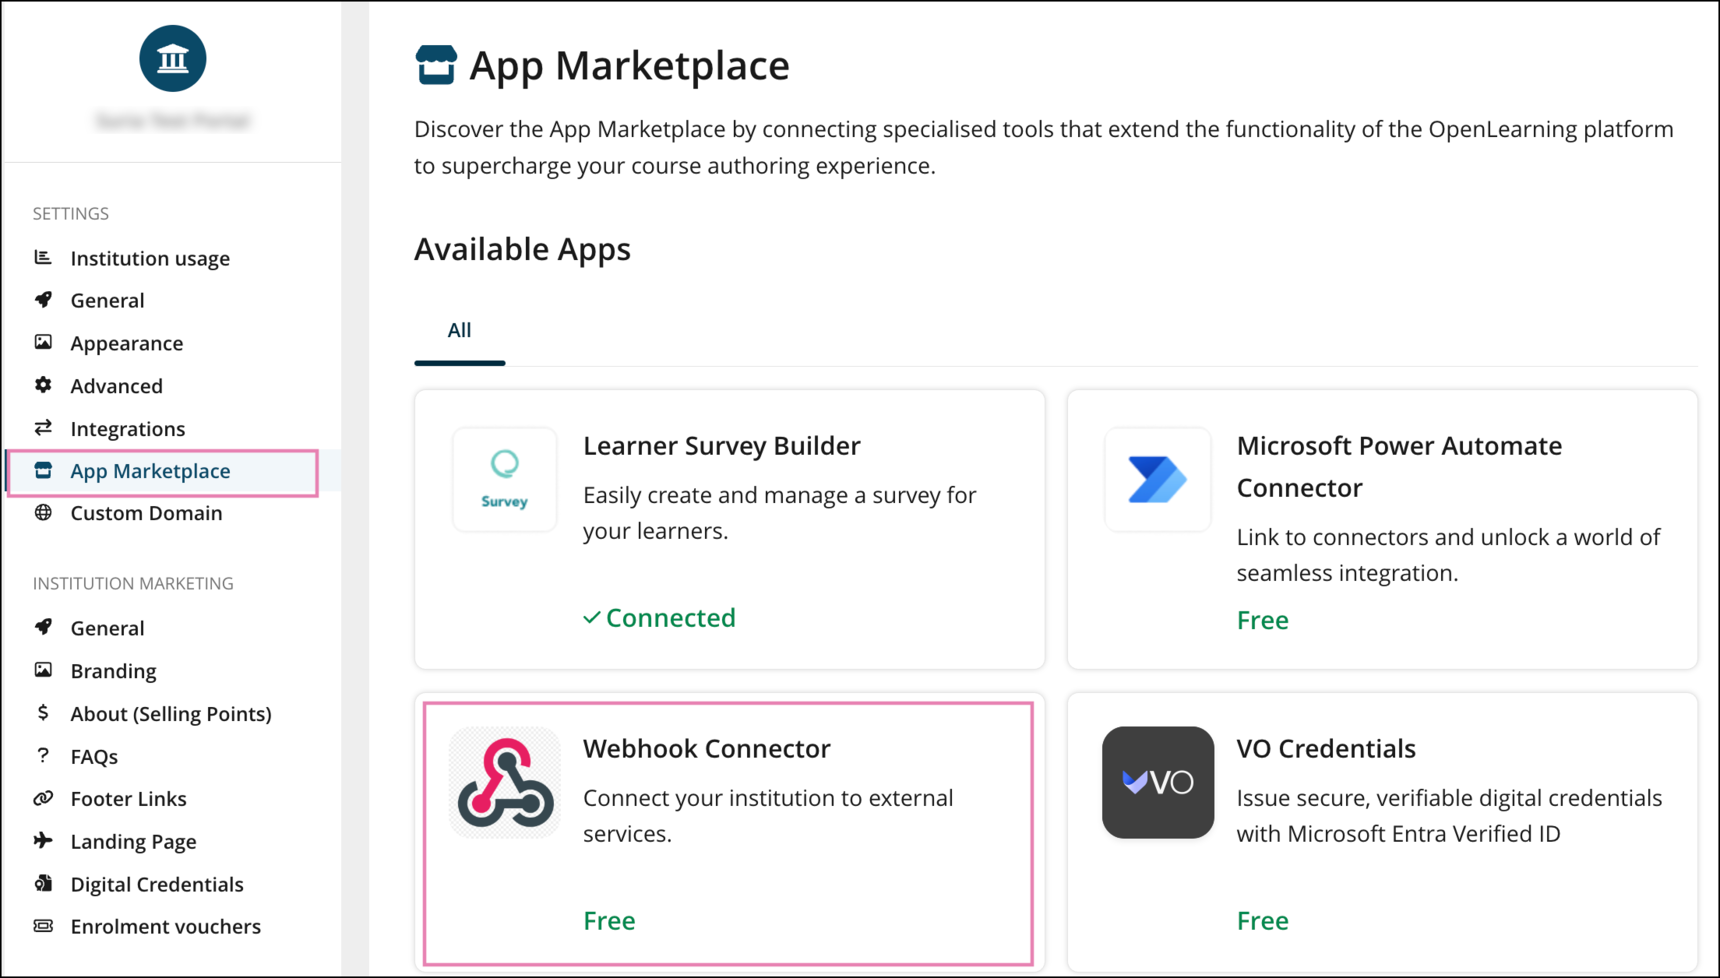
Log in to OpenLearning and navigate to your Institution Settings > App Marketplace and click on the Webhook Connector app.
Step 2
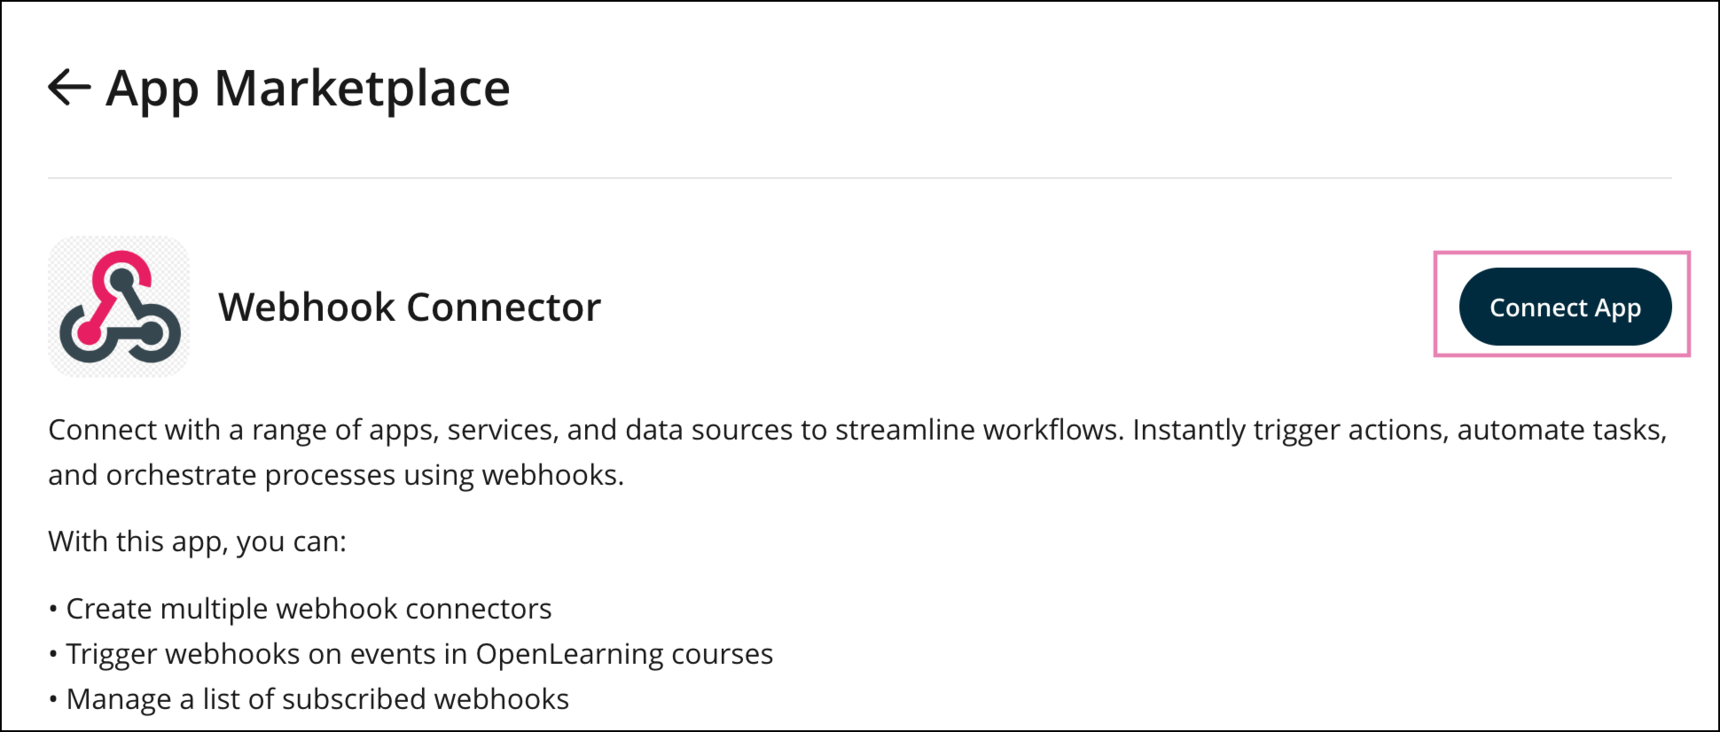
On the next page, click on the Connect App button.
Step 3
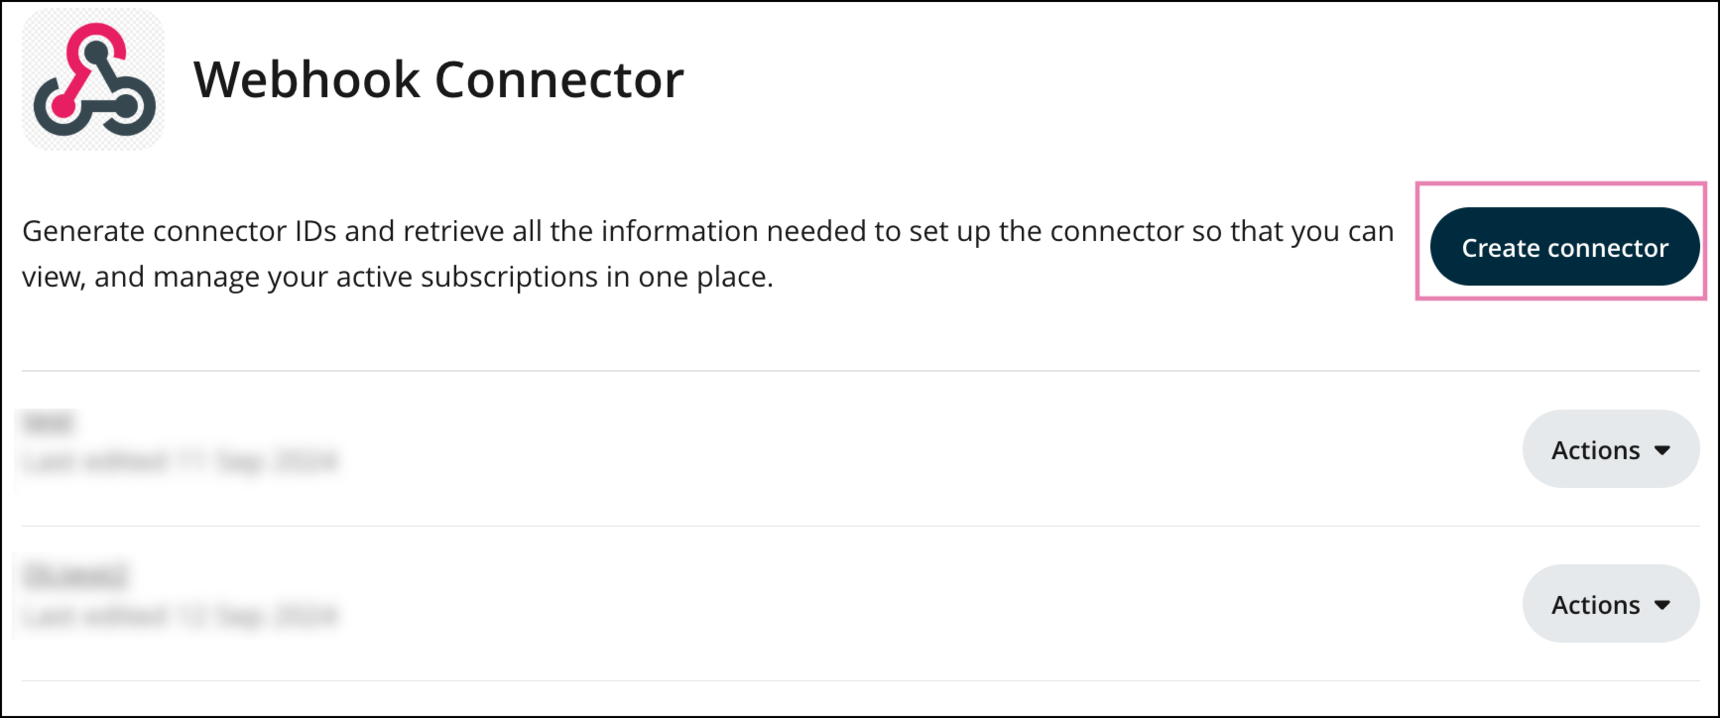
Once connected, click on the Go to App button and click on Create connector.
Step 4
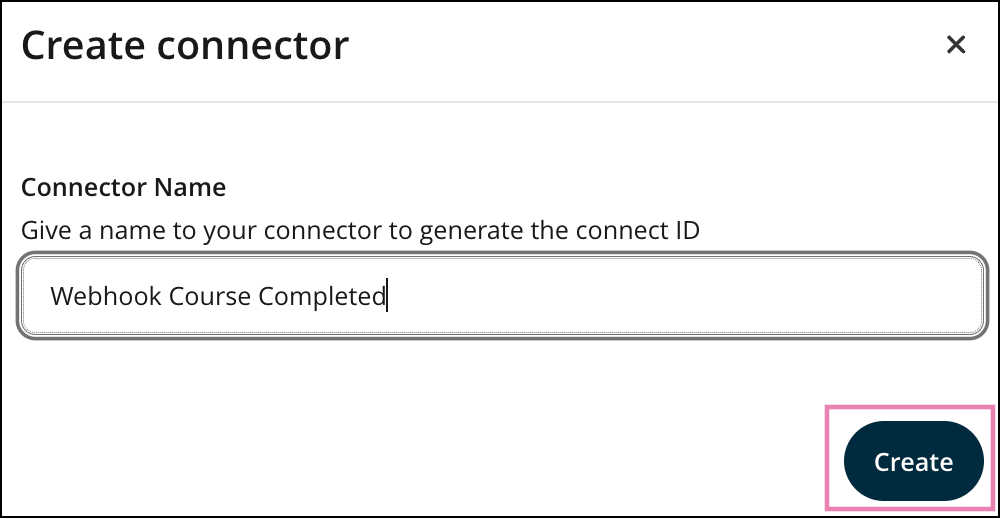
In the pop-up window, enter the connector name and then click Create.
Ideally this would be the name that will relate to the action, events that you want to track. I.e Course Completed
Step 5
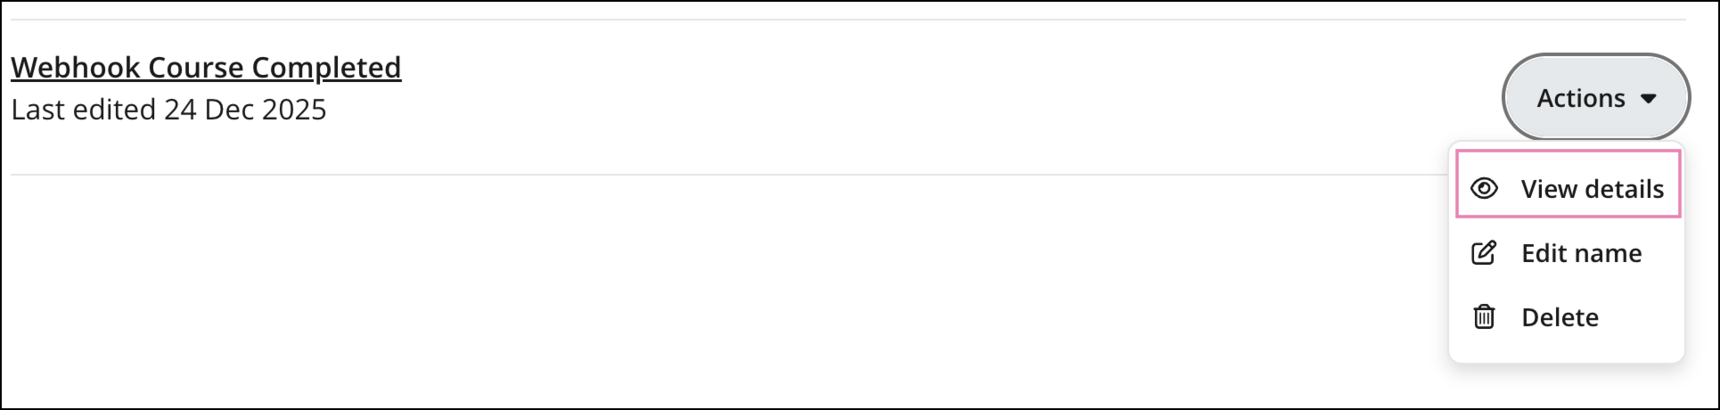
On the newly created connector, click the Action button and select View details.
Step 6
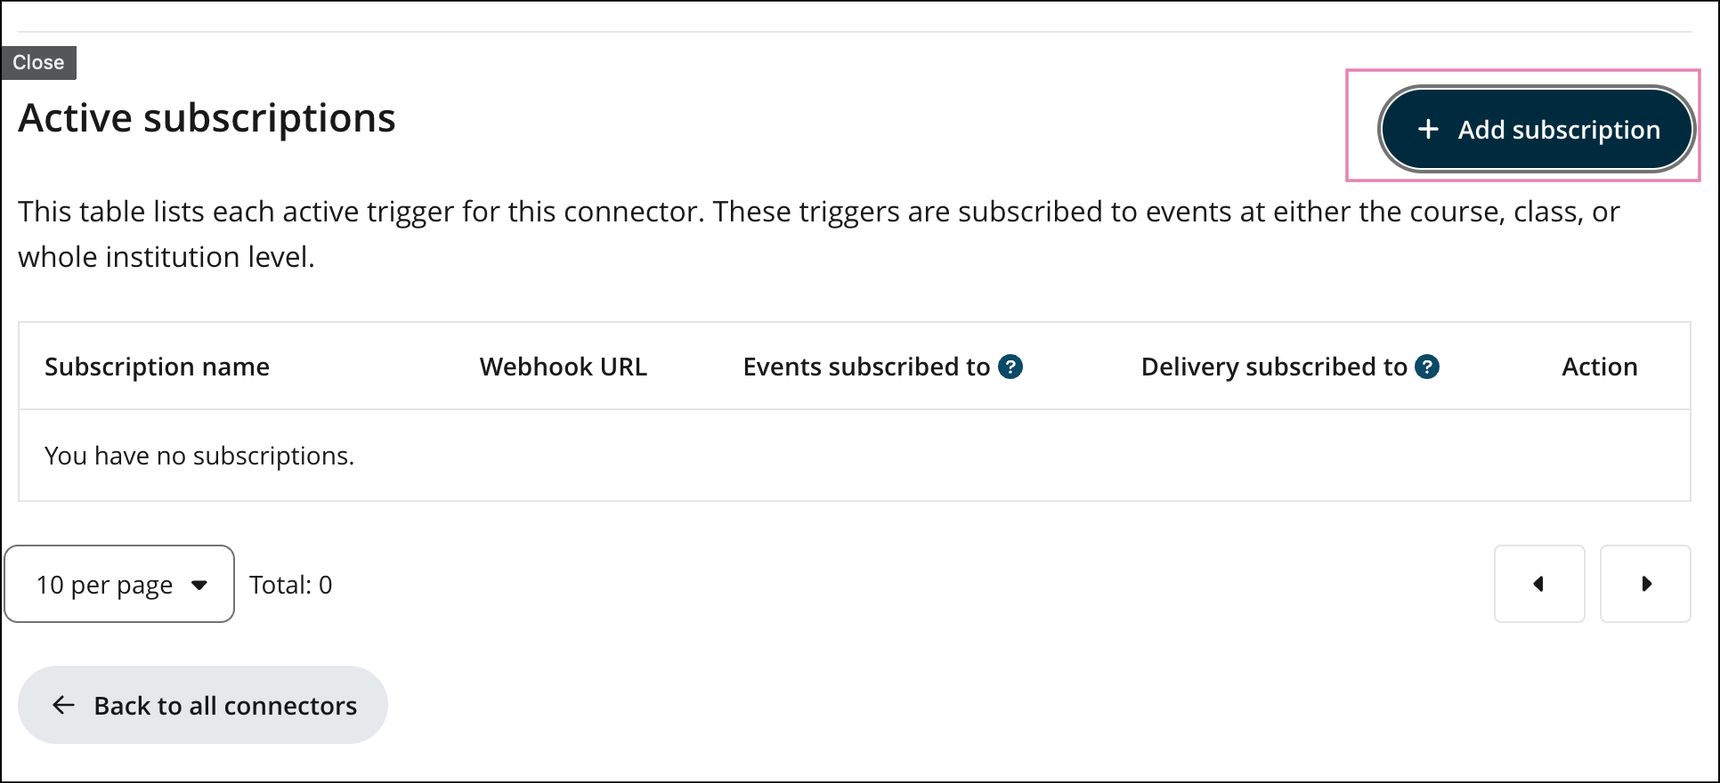
Click on Add Subscription
Step 7
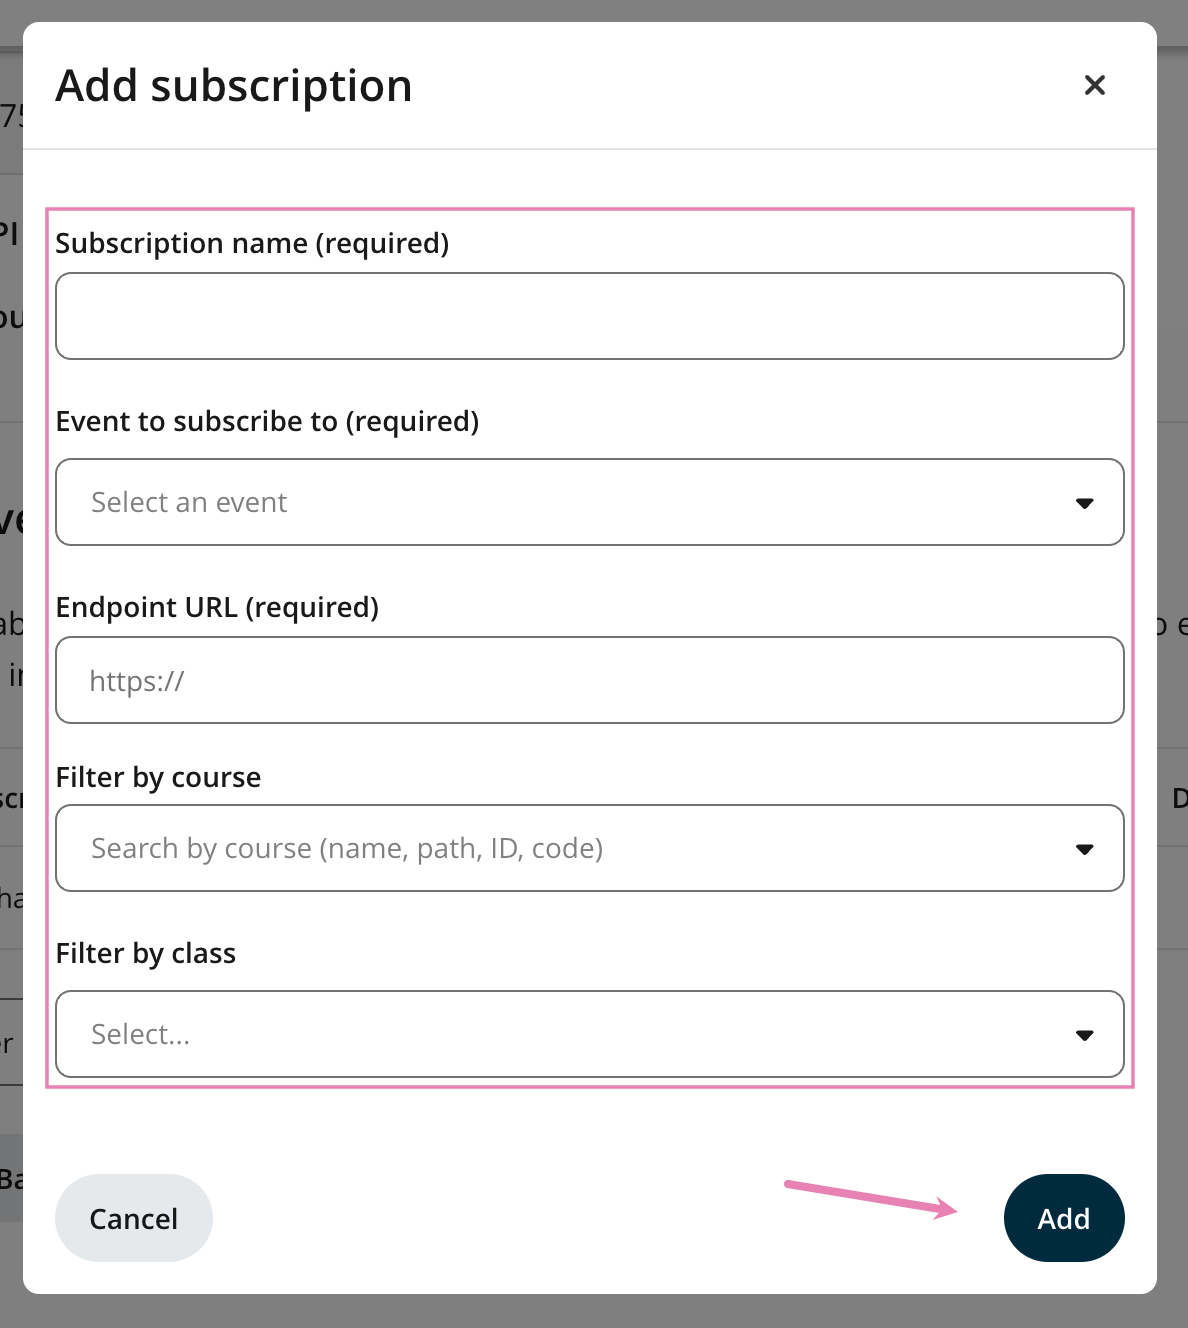
Add the subscription details and click Add to save the changes.
- Subscription name (required) - the name of the connector preferably related to the action taken
- Event to subscribe to (required) - webhook action (refer to the full list of available actions in the webhook data article)
- Endpoint URL (required) - your webhook URL
- Filter by course - optional if you would like to filter the result to a single course
- Filter by class - optional if you would like to filter the result to a single class
Step 8
The new subscription will now appear under the Active Subscriptions of the connector that you have created.

For additional information on the available webhook events and sample output results, see the Webhook Data article.
Create Webhook Connector via API
You can create the webhook connector via API using the endpoint below once the app has been connected to your institution.
Endpoint:
PUT /institutions/{institution_id}/connector/
Required parameters:
- your institution path or institution ID.
Documentation:
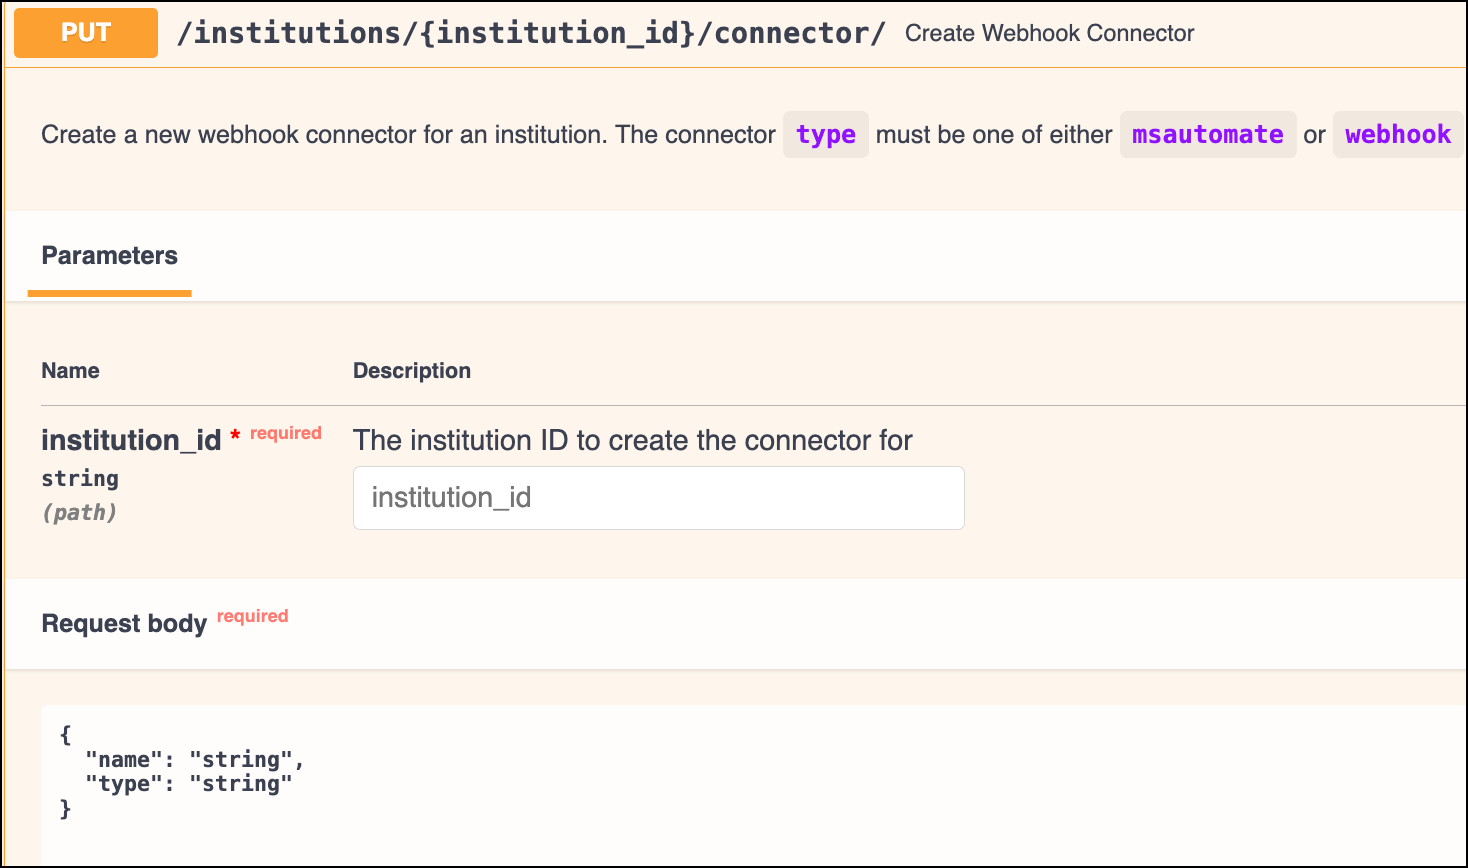
Step 1
The example below shows you how to create the Webhook Connector directly from our API page here.
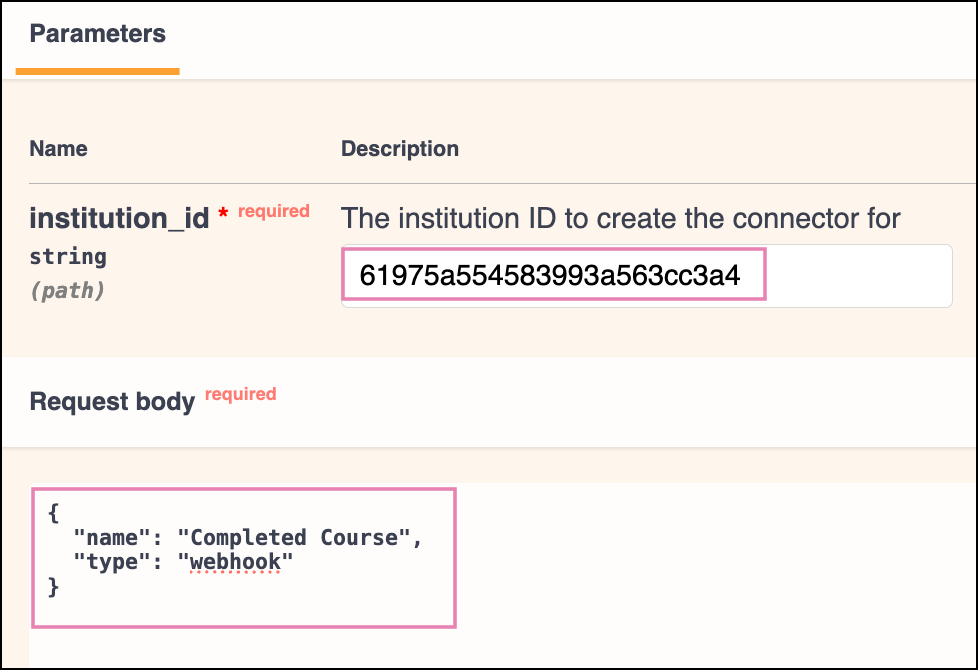
a) Enter your Institution path or institution ID
b) In the request body, edit the following fields:
- name- the name for the connector, preferably related to the action taken
- type - The connector type must be one of either msautomate or webhook , which in this case will be webhook
{
  "name": "Completed Course",
  "type": "webhook"
}
Step 2
In the API page, click Execute. If the request is successful, the response will confirm that the connector has been created.
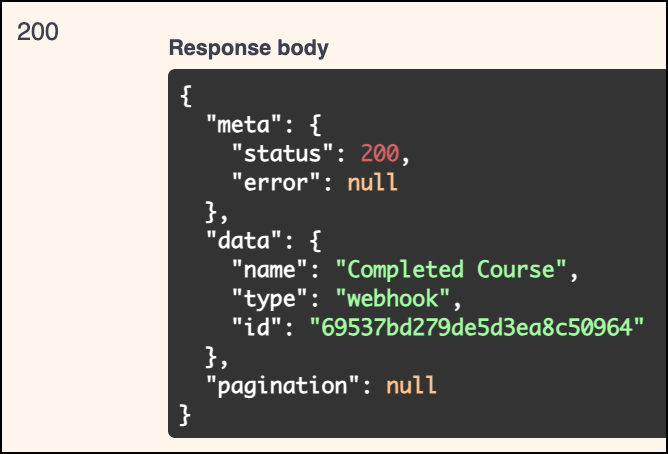
Proceed to the Subscribe to Webhook User Events section to continue the setup.
Subscribe to Webhook User Events
The next step can only be performed via API using the following endpoint:
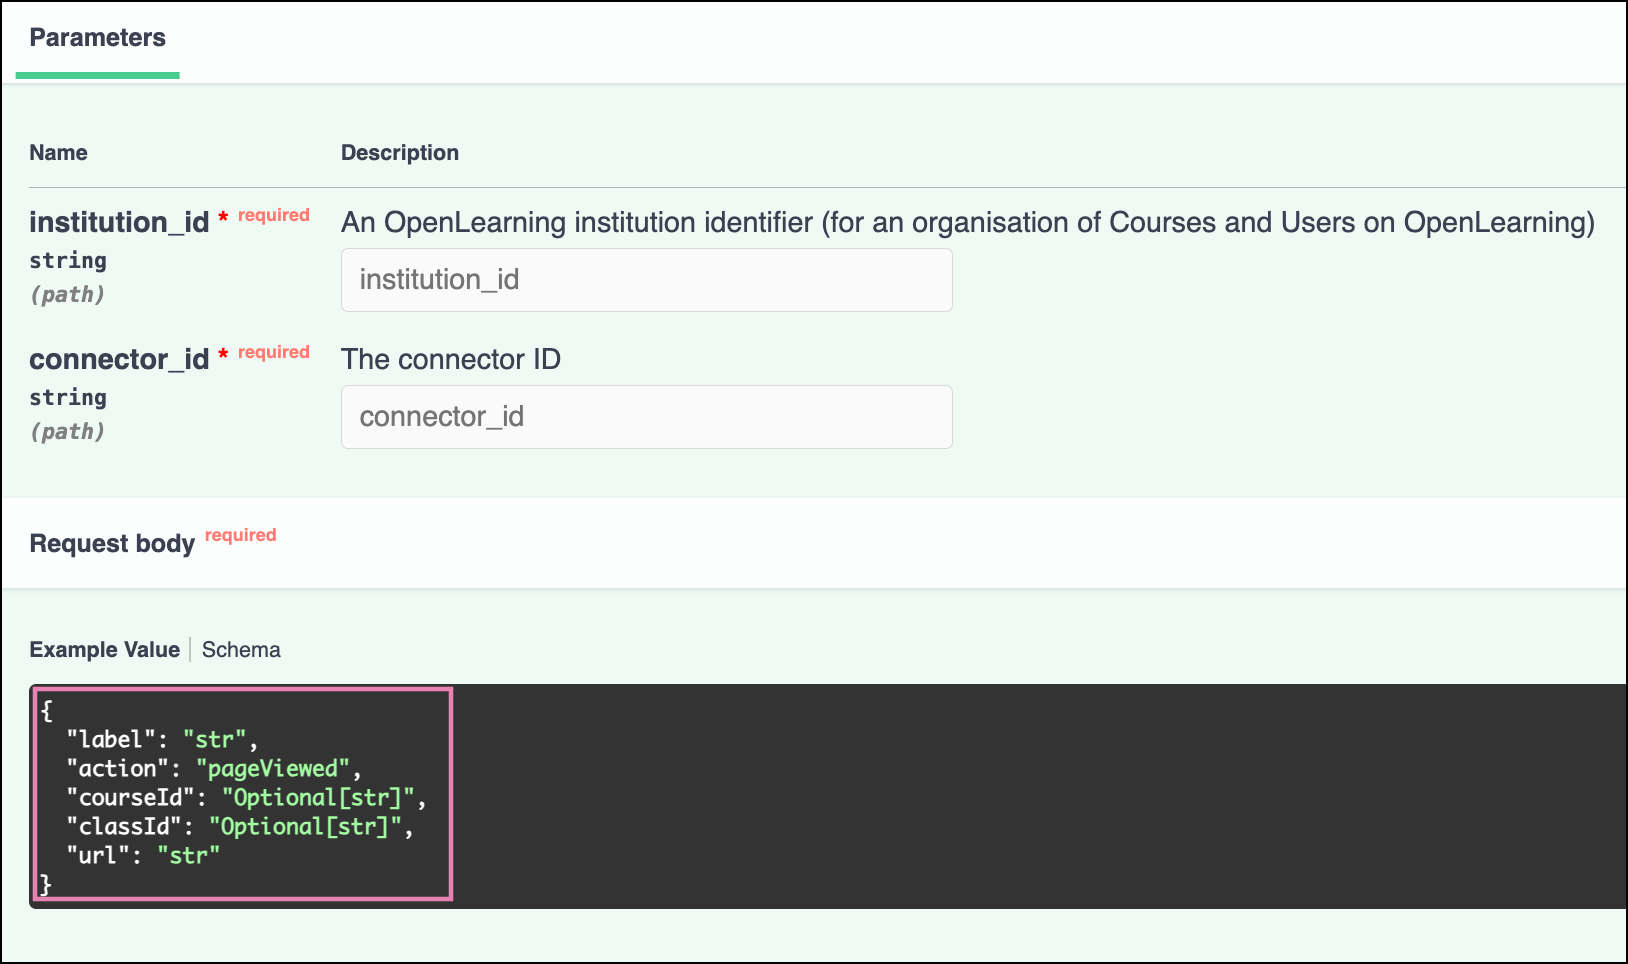
POST /institutions/{institution_id}/connector/{connector_id}/subscribe/
Documentation:
Step 1
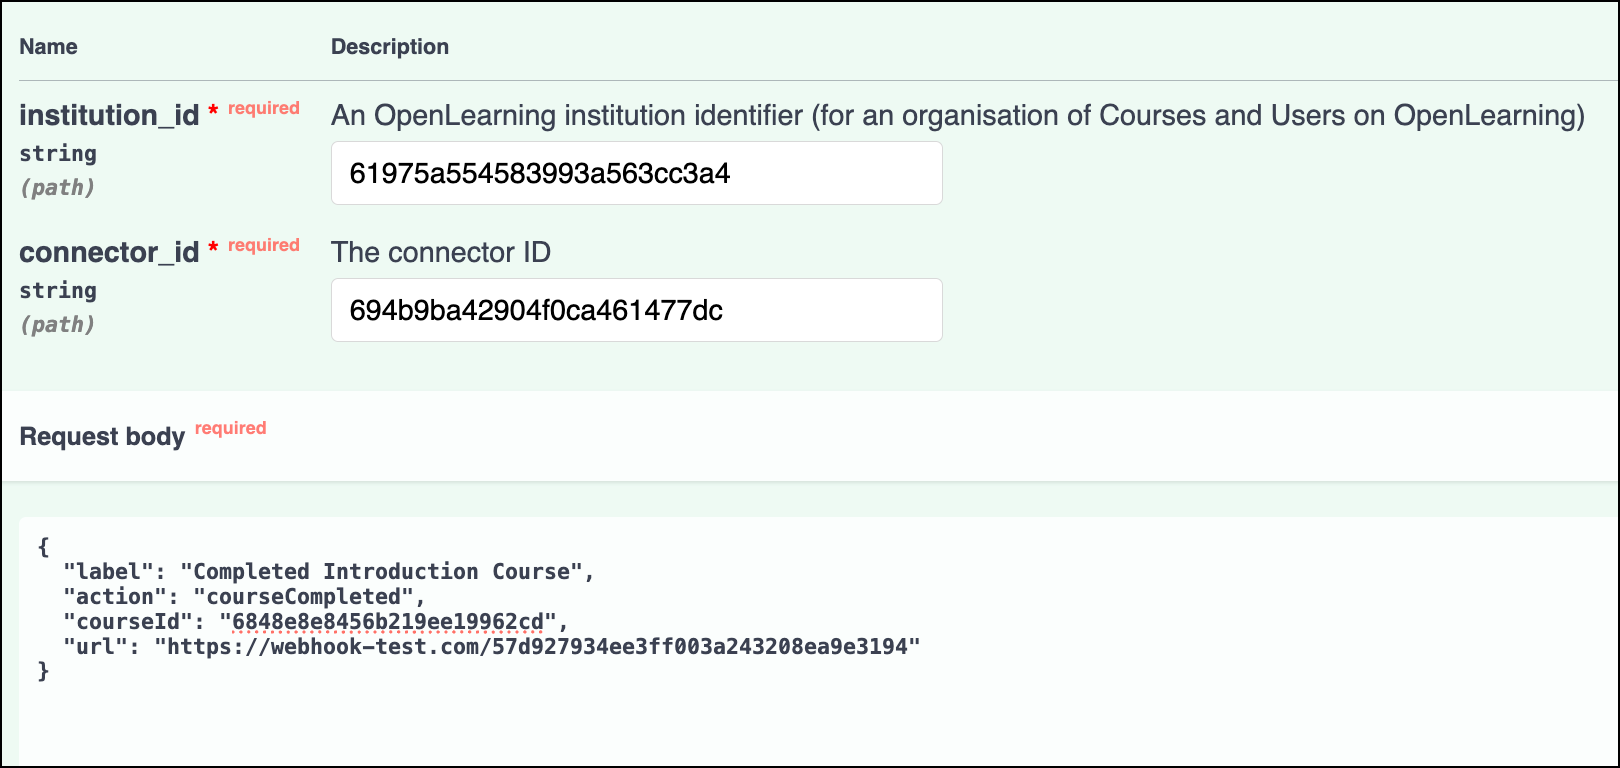
The example below shows you how to set up the Course Completed event for a specific course directly from our API page here.
a) Paste the Connector ID and Institution ID that you copied in earlier.
b) In the request body, edit the following fields:
- label – the name of the connector, preferably related to the action taken
- action – webhook action (refer to the full list of available actions in the webhook data article)
- courseID – your course ID (optional)*
- classID – your class ID (optional)*
- url – your webhook URL
* Note: The optional fields (courseID and classID) can be removed if you wish to capture actions for the entire institution.
Example:
{
  "label": "Completed Introduction Course",
  "action": "courseCompleted",
  "courseId": "6848e8e8456b219ee19962cd",
  "url": "https://webhook-test.com/57d927934ee3ff003a243208ea9e3194"
}
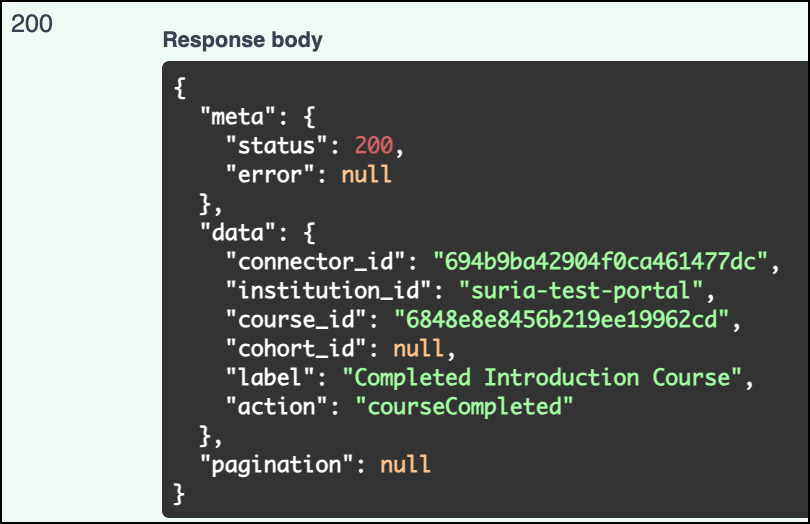
Step 2
In the Swagger UI, click Execute. If the request is successful, the response will confirm that the subscription has been created.
Step 3
Navigate back to the Webhook Connector section under Institution Settings > Connected Apps. The new subscription will now appear under the Active Subscriptions of the connector that you have created.
For additional information on the available webhook events and sample output results, see the Webhook Data article.
Examples: Capturing Events at Different Levels using API
Capture event for the whole institution
Remove the courseID and classID lines entirely from the API request body.
{
  "label": "Complete Any Course",
  "action": "courseCompleted",
  "url": "https://webhook-test.com/57d927934ee3ff003a243208ea9e3194"
}
Capture event for a specific class
Exclude the courseID line, but provide a valid value for classID within the API request body.
{
  "label": "Completed Introduction Course - JanMarch class",
  "action": "courseCompleted",
  "classId": "6848e8e8456b219ee19943dc",
  "url": "https://webhook-test.com/57d927934ee3ff003a243208ea9e3194"
}
Reminder: For more details on the available webhook events and the example results output, please refer to the article Webhook Data.
Delete Webhook Connector
If you no longer wish to use the connector, you can delete them via;
Institution Settings User Interface
1. Navigate to Institution Settings > Connected Apps > Webhook Connector.
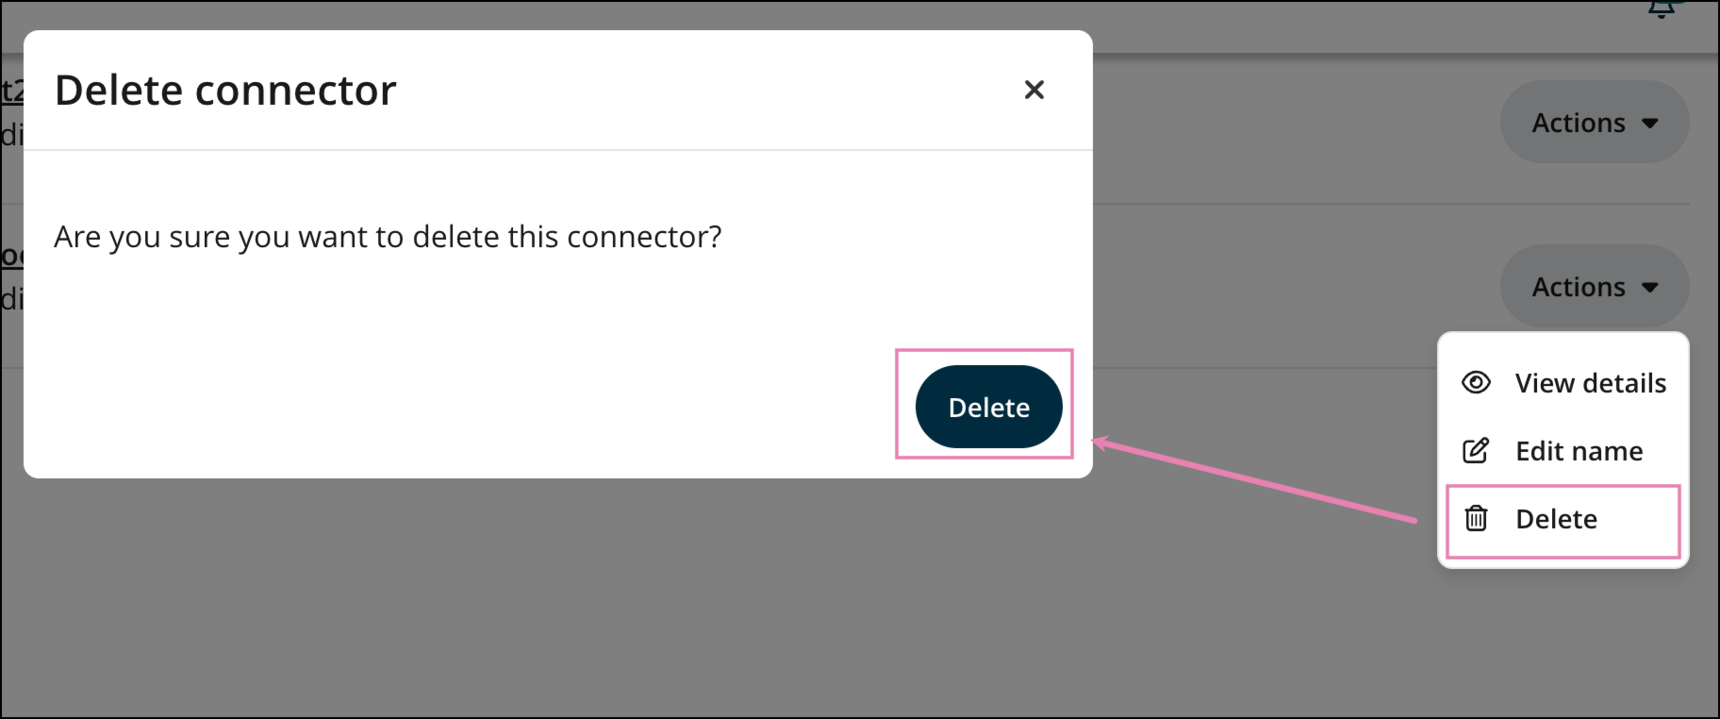
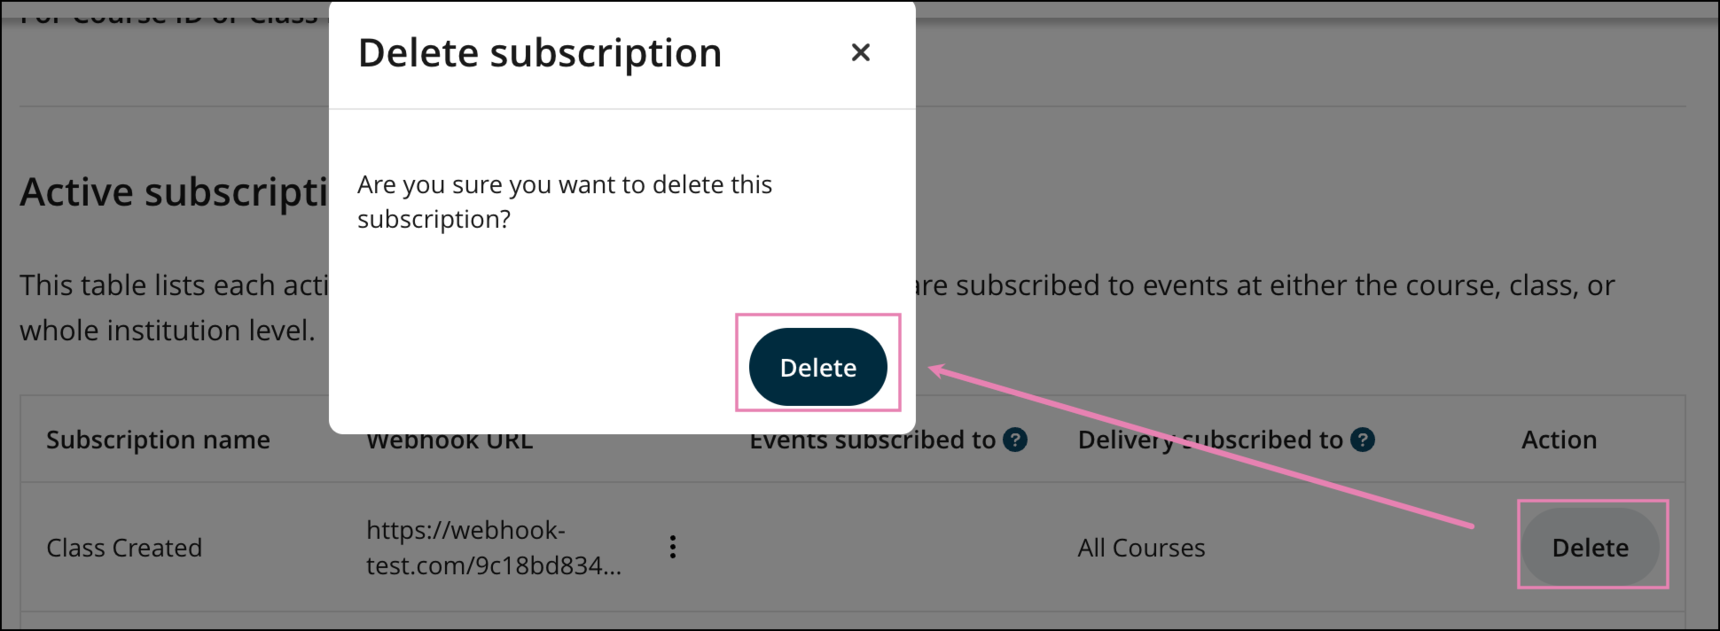
2. Select Actions > Delete, then confirm by clicking Delete when prompted.
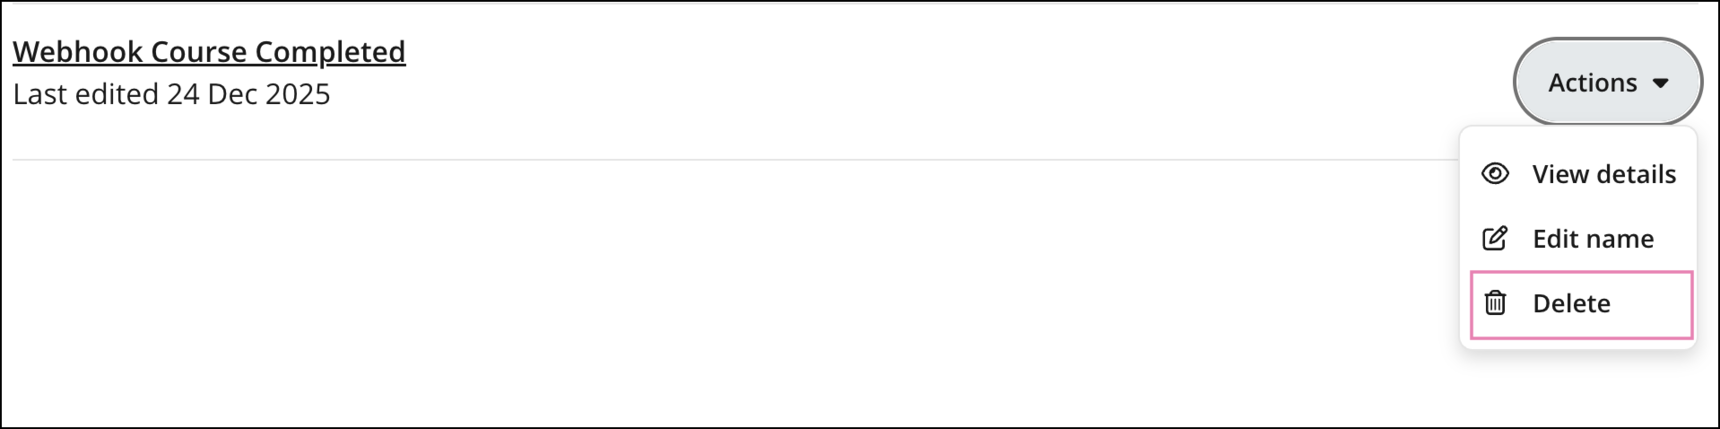
3. The connector will be removed once the deletion is confirmed.
Note: You can also delete individual subscribed events within the connector. To do this, click View details instead on the connector and navigate to the active subscription of the action you wish to remove.
Using API
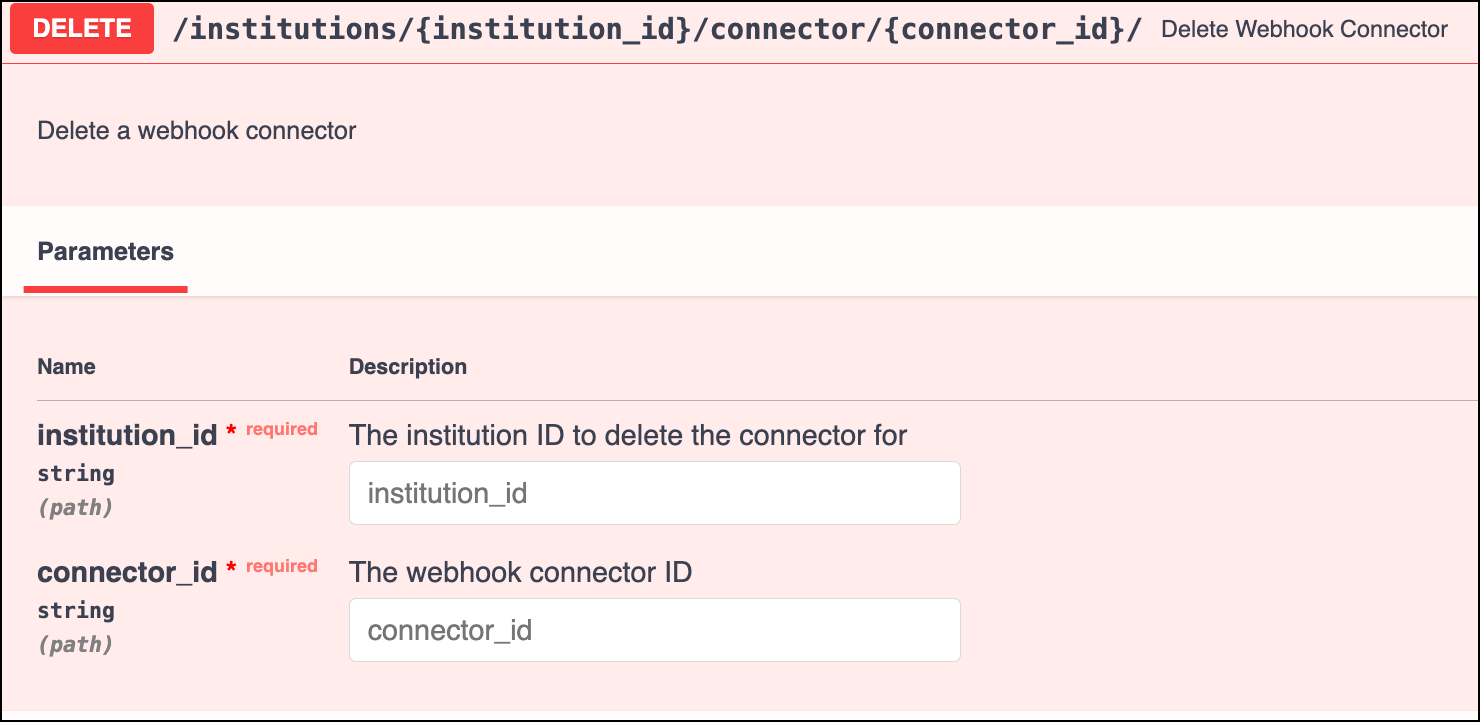
Delete Webhook Connector Endpoint documented here.
DELETE /institutions/{institution_id}/connector/{connector_id}/
Required parameters:
- Institution path or institution ID.
- connector ID