
How do I set a time limit on my course content?
How do I set a time limit on my course content?
Step 1
Go to Administer learners > Timeline.
Note: make sure you're viewing the preferred class.

Step 2
Next, you will see two sections: Class access times and Class pacing.

Step 3
Choose the type of pacing you want your class to have:
Open MOOC: All modules are always available.
Self-paced: Allows learners to go at their own pace - each module becomes available when the previous module is completed.
Scheduled: Allows you to set a specific start and end date and time for each module.

![]() For OpenMooc and Self-paced setting Start date, Enrolment close date and End date is optional. For Scheduled, you must set a Start date.
For OpenMooc and Self-paced setting Start date, Enrolment close date and End date is optional. For Scheduled, you must set a Start date.
How do I set up the access dates/times for modules?
If you'd like to set up dates for individual modules, continue to step 4.
Step 1
If you choose Scheduled, next you'll have to enter a start date for your class.
If you want learners to be able to go ahead when each module is finished, tick the box next to "Allow learners to continue ahead at their own pace - each module becomes available when the previous module is completed."
If you would rather learners stay within the schedule, leave it blank.

Step 2
Once you've set a date, the timeline should appear at the bottom of the page. Drag each module around and place them on your preferred start dates.

If you'd like to choose a specific time as well, click on the module name to set a time.

How do I set up due dates/times for pages?
Step 1
Go to Administer learners > Timeline.
Note: make sure you're viewing the preferred class.
Scroll down to the section titled "Page Due Dates and Access Times"

Step 2
Begin to type the name of the page you'd like to set a due date on. When it comes up, select it.

Step 3
To set up a due date, click on the box and set the date accordingly.
If you'd like to set a specific time as well, also click on the clock.

![]() Alternatively, you can also set a due date on the page itself by following the steps below but ONLY AFTER you have set your class as a Scheduled course under Administer Learners > Timeline.
Alternatively, you can also set a due date on the page itself by following the steps below but ONLY AFTER you have set your class as a Scheduled course under Administer Learners > Timeline.
Step 1
Navigate to the page you want to set a due date for.
Step 2
Click on the Settings button located at the top-left corner of the page, just below the progress bar (Your Progress link).

Step 3
On the Settings modal/pop-up box, click on the Schedule tab, then tick the box for Set a due date.

Step 4
Then, select your preferred date and time by clicking on the provided field, and then click on Save changes.

After doing either method provided above, the due date will now be displayed beneath the page and on the page within this class.
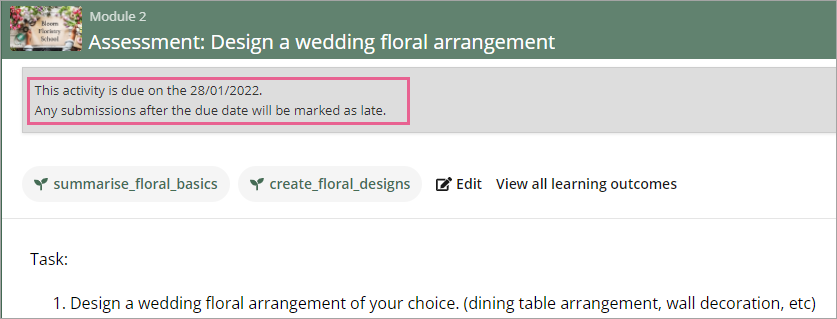
![]() A due date doesn't prevent access, it does, however, mark any late submissions as late/overdue in the assessment report and the gallery with an option for the facilitator to waive the overdue status. Note that the actual access for this page will be the same as for the module in which this page is located.
A due date doesn't prevent access, it does, however, mark any late submissions as late/overdue in the assessment report and the gallery with an option for the facilitator to waive the overdue status. Note that the actual access for this page will be the same as for the module in which this page is located.
Gallery view:

Assessment report view:

How do I set up access dates/times for a page?
Step 1
Go to Administer learners > Timeline.
Note: make sure you're viewing the preferred class.
Choose Scheduled for "Class pacing".
Step 2
Scroll down to Page Due Dates and Access Times.
Add the page you want to set up if it's not already listed.
Step 3
Untick the Default box under Access times. "From" and "To" boxes will appear for you to enter the page access dates. The "Due" box is optional.

The dates will appear on the module and the page itself.
