
What attendance-taking options are available in OpenLearning?
In OpenLearning, attendance records can be collected in two ways: by the learners themselves or by the course assessors.
Learner-performed attendance
Learners can complete an activity on a designated course page, which serves as proof of attendance.
Below is a high-level overview of how this option works:
The learner visits the attendance page and completes a simple activity on that page.
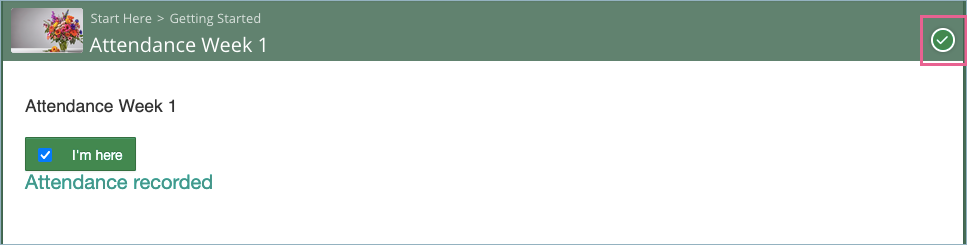
Once the activity is completed, the page will automatically be marked as completed.
There are two ways to track the completion status of the attendance page:
Manual: Export the Learner Page Completion Report.
Automatic: Set up a webhook to receive real-time data when a learner completes the activity or the attendance page. This method requires development work to capture the data, store it in the course provider’s database, and then reconcile it to generate the attendance report. The development and reporting process should be managed by the course provider.
To set up the learner-performed attendance system, follow the steps below:
Step 1
To complete steps 1–4, the Course Administrator role is required. For additional details on roles, please refer to the article Roles and permissions.
Go to the course where you want to add the attendance page, then create a new page by following the steps in the article How do I create a page?
Step 2
On the newly created page, add an activity for learners to complete.
For example, you can use a Checklist Widget for a simple attendance activity. For more information on how to use the Checklist Widget, please refer to the article How do I use the Checklist widget?
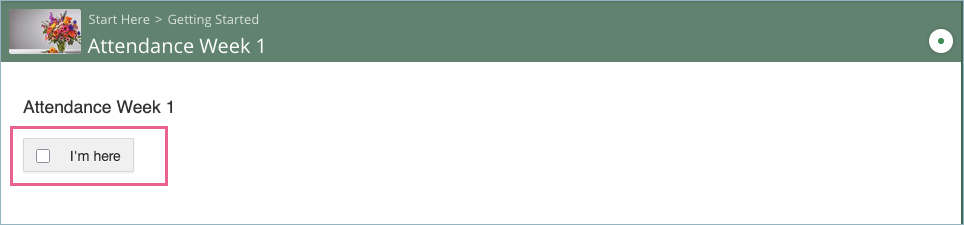
When a learner visits the page, they should tick the checkbox to mark the activity as complete. If the checkbox is the only activity on the attendance page, this action will also mark the page as completed.
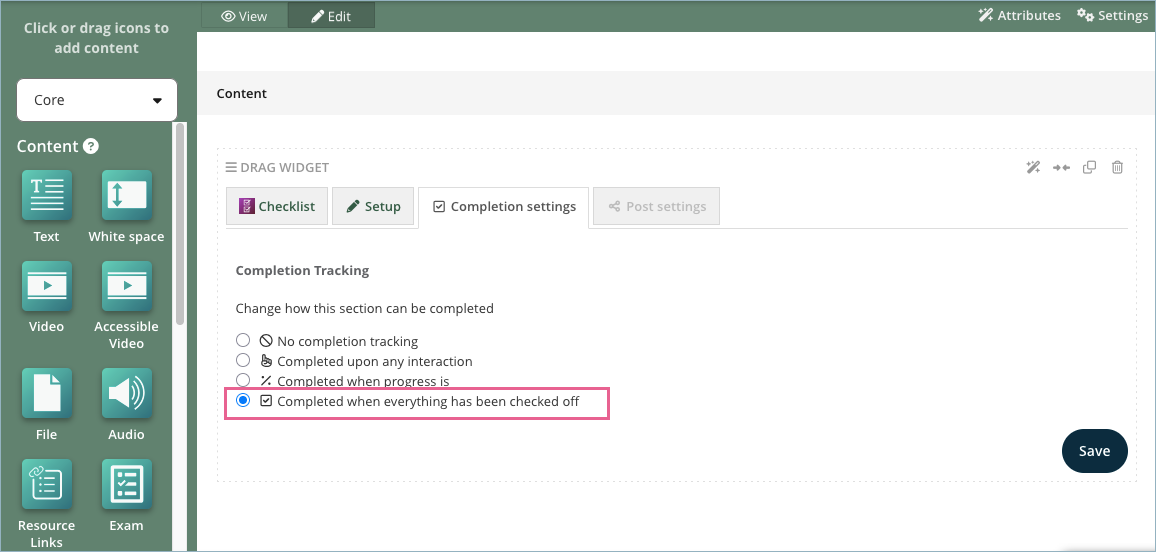
Step 3
In the Checklist widget > Completion Settings tab, ensure the option Completed when everything has been checked off is selected.
Step 4
There are two options to track the completion status of the attendance page:
- Manual: Export the Learner Page Completion Report. Only the page completion status can be used for this tracking method.
- Automatic: Set up a webhook to receive real-time data when a learner completes the attendance page. In this method, you’re not limited to activity or page completion statuses; you can track other types of events as well. For more details on the available webhook events, please refer to the article below. Webhook Data.
For manual tracking, this is the final step. You can obtain the page completion data by exporting the Learner Page Completion Report following the steps in the article Exporting 'Learner Page Completion - Detailed' data.
The exported file in the zip file will have each learner's page completion report in the CSV format. Each CSV file for each learner contains the column name Completed (Yes/No) and the value will show Yes if the page has been completed by the learner.
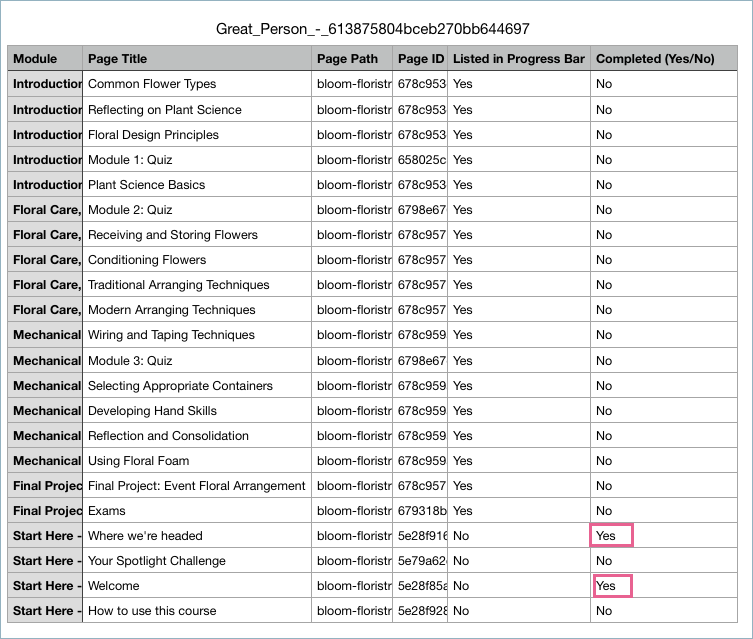
You can then use the CSV data for further reconciliation and processing to generate your own custom attendance report.
For automatic tracking setup, continue with Step 5 and the subsequent steps.
Step 5
To complete steps 5–9, the Institution Administrator role is required. For additional details on roles, please refer to the article Roles and permissions.
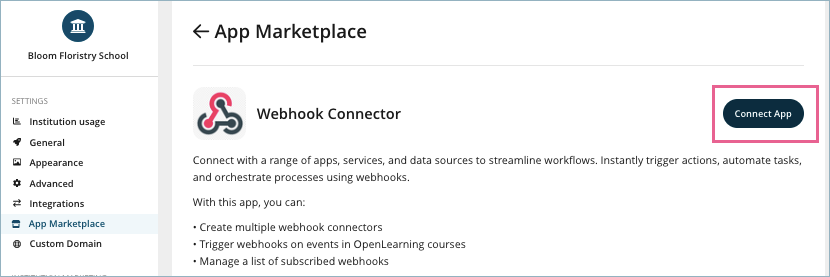
To configure automatic tracking, go to the Institution Settings > Settings > App Marketplace menu and then click on the Webhook Connector.

On the next page, click on the Connect App button.
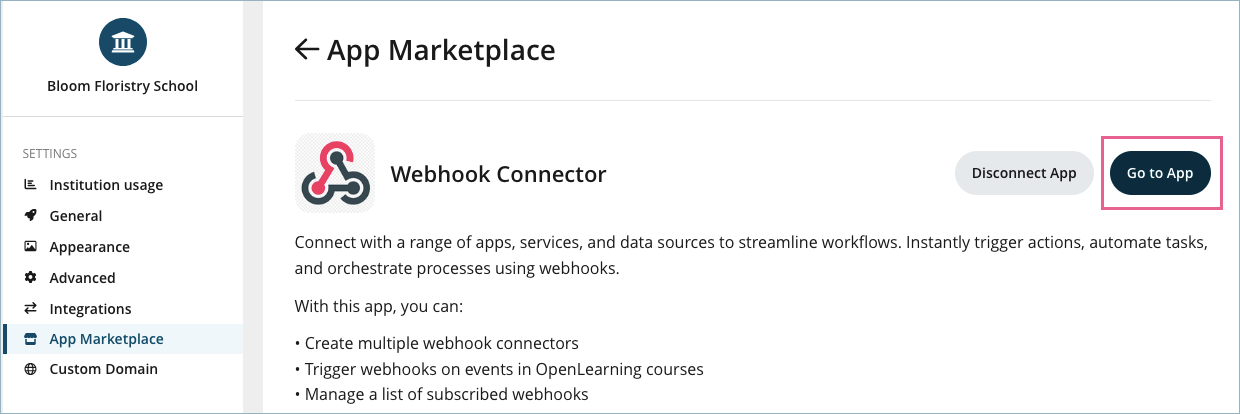
Step 6
Once connected, click on the Go to App button.
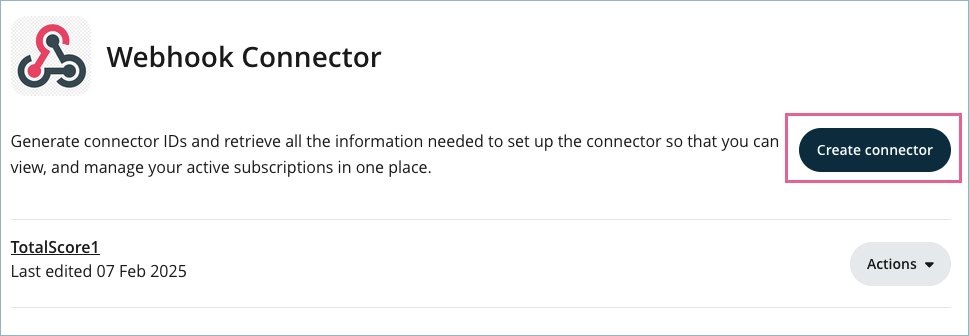
Step 7
On the Webhook Connector page, click the Create connector button.
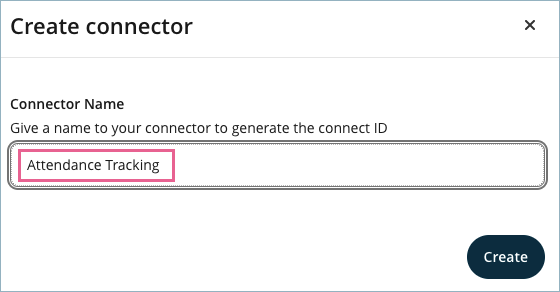
In the pop-up window, enter the connector name and then click Create.
Step 8
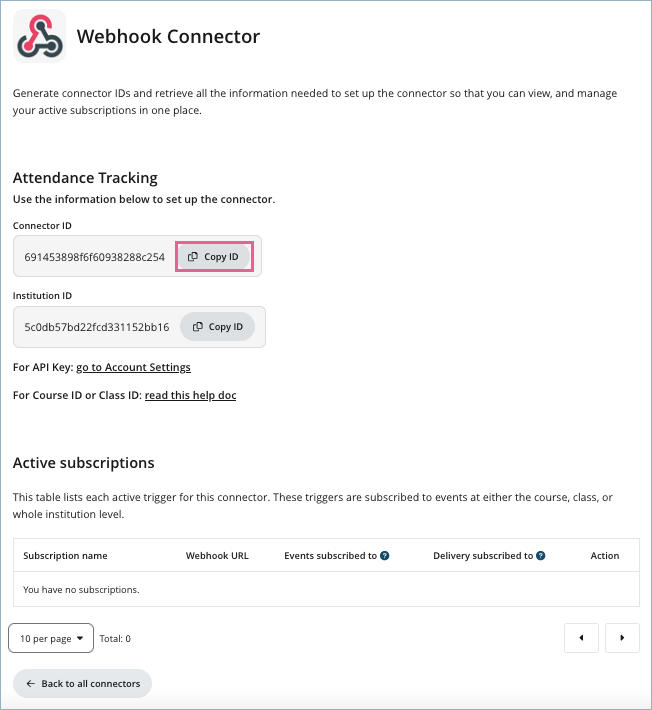
On the newly created connector, click the Action button and select View details.
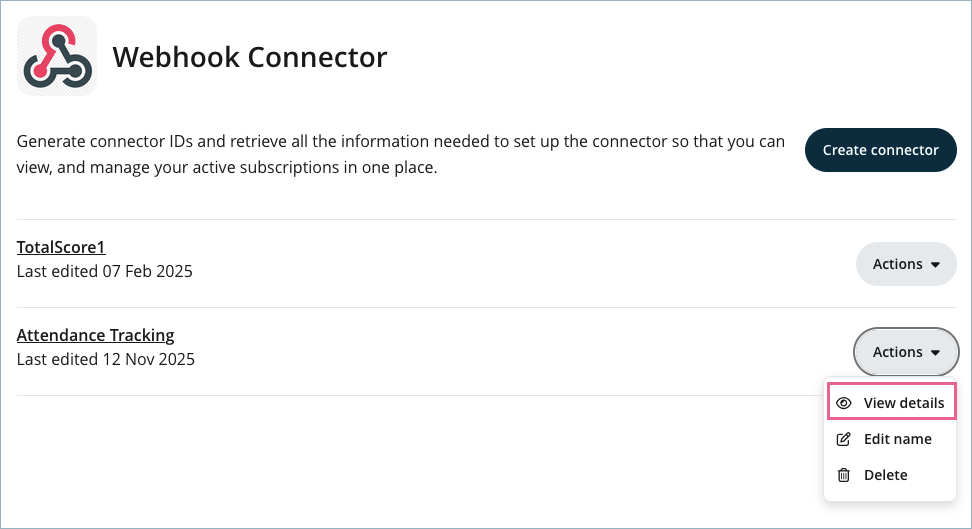
On the connector details page, copy the Connector ID.
Alternatively, you can create the webhook connector by using the API endpoint below:
PUT /institutions/{institution_id}/connector/
Step 9
Once a webhook connector has been created, the next step is to subscribe to user events. For example, to receive a webhook each time a learner performs a specific action in an OpenLearning course.
Subscription to the created webhook connector can only be performed using the API endpoint provided below.
POST /institutions/{institution_id}/connector/{connector_id}/subscribe/
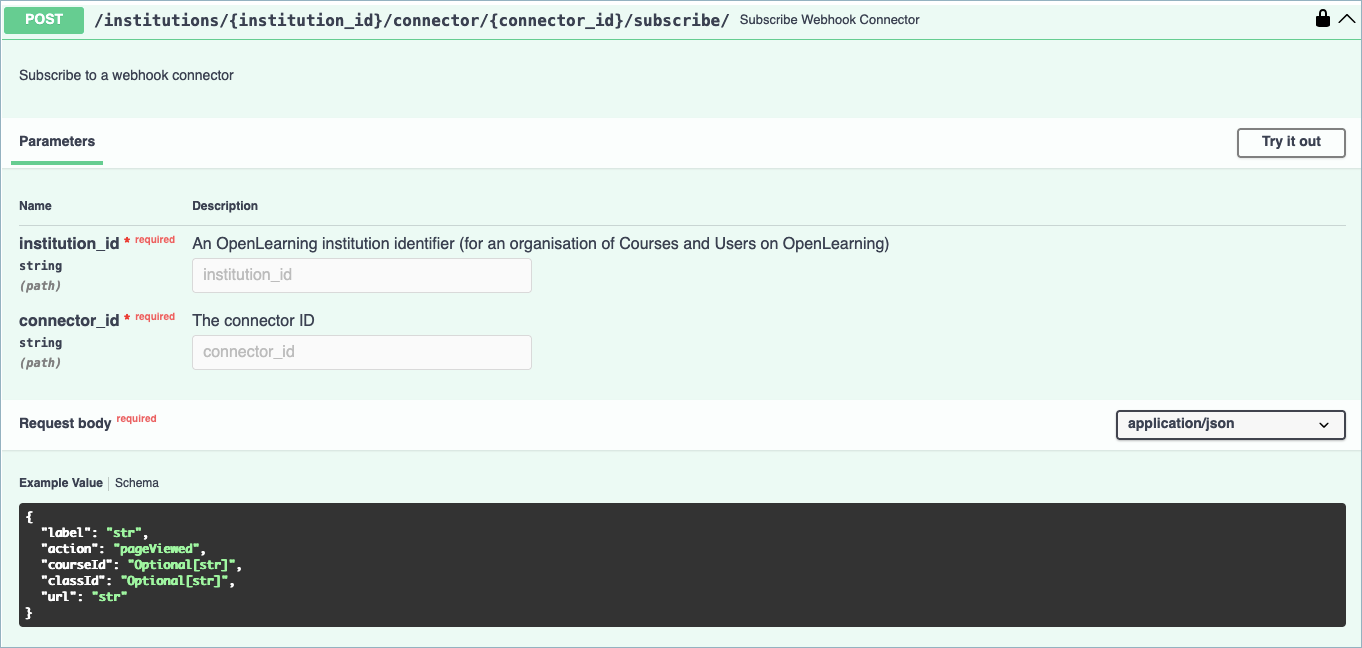
The example below demonstrates how to create an active subscription for the activitySubmitted event.
The data will be sent to the URL https://quick-hawk-03.webhook.cool, which is a sample endpoint from a webhook testing service. You can also use the webhook testing service by getting your own service’s endpoint here. You should replace the URL value with the endpoint where you want the webhook data to be sent.
Please note that you’re not limited to activity or page completion statuses; you can track other types of events as well. For more details on the available webhook events, please refer to the article Webhook Data.
Body:
{
  "label": "Activity Submissions",
  "action": "activitySubmitted",
  "courseId": "5c183960b7397f31dd3137db",
  "url": "https://quick-hawk-03.webhook.cool"
}
Full request view:

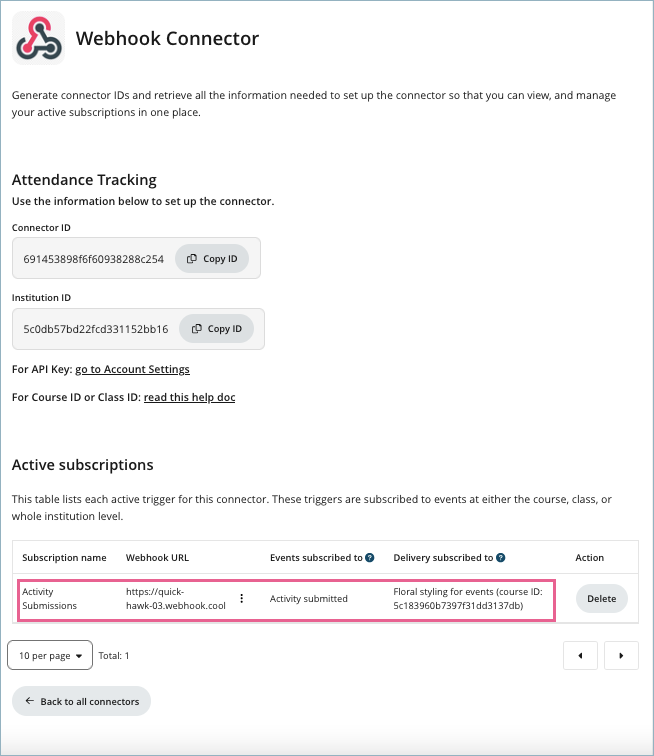
Once created, the new active subscription will appear in the Webhook Connector > Active Subscriptions list.
Step 10
To test the webhook triggered by completing the Checklist widget, log in to the course with your learner account and then tick the Checklist widget to complete the activity.

Step 11
Go to the webhook testing service site or your URL endpoint to confirm that the webhook endpoint has received the data. In this example, the following data was returned:
{
  "action": "activitySubmitted",
  "page": {
    "title": "Attendance Week 1",
    "id": "6914410daf7b5ec9a4603b8f",
    "url": "https://www.openlearning.com/bloom-floristry-school/courses/floral-styling-for-events/attendance_1"
  },
  "activity": {
    "id": "691444abfc33835a5f381bd7",
    "index": 0,
    "widget": {
      "name": "Checklist",
      "id": "ol/OpenLearning/checklist",
      "type": "checklist"
    }
  },
  "submission": {
    "data": {
      "1": true
    },
    "completion": {
      "progress": 1,
      "match": true
    }
  },
  "context": {
    "module": {
      "id": "5e28f8588357670690ae49b0",
      "title": "Getting Started"
    },
    "courseId": "5c183960b7397f31dd3137db",
    "courseTitle": "Floral styling for events",
    "classId": "670353d25f102afa651a826c",
    "classTitle": "Class of 2025 (We use this class for article screenshots)",
    "enrolDate": "2024-10-07T03:42:34.313000"
  },
  "actor": {
    "name": "Great Person",
    "id": "613875804bceb270bb644697",
    "enrolmentId": null,
    "externalId": null,
    "institutionEmail": "xxx@gmail.com"
  },
  "timestamp": "2025-11-13T04:17:16.622742"
}
Step 12
Verify That the Data Matches the Desired Event.
Each time a user submits data through a widget in the subscribed course, a request is sent to the designated endpoint. You’ll need to verify that the incoming data corresponds to the correct event by performing the following checks:
Confirm the page – Ensure the data belongs to the intended page.
Confirm the widget – Ensure the data comes from the correct Checklist widget (for this example).
Confirm the action – Ensure the user checked (not unchecked) the intended checkbox (for this example).
Step-by-Step Verification
1. Verify the Page and Checklist Widget
Check that the Checklist widget being interacted with is the correct one and is located on the desired page.
If there is only one Checklist widget on the page, filter by:
page > url– to confirm it’s the correct pageactivity > widget > id – to confirm it’s the correct Checklist widget
If there are multiple Checklist widgets on the page, differentiate them using:
activity > id or
activity > index
2. Verify the Selection
Confirm that the checkbox was selected (and not deselected):
- Ensure
submission > data > 1equalstrue. Note: This field may contain multiple values if the Checklist widget allows multiple selections.
3. Store the User Information
Once you’ve confirmed that the user has correctly checked themselves off on the correct page and widget, record the user’s details using one of the following fields:
- actor > name – to store the user’s full name
- actor > id – to store the user’s OpenLearning user ID
Step 13
Capture the relevant data, store it in your database or preferred tool, and reconcile it to generate your own attendance report. This step involves development and report generation, which should be managed by your development team.
Assessor-performed attendance
If there are concerns about the reliability or authenticity of learner-submitted attendance, you can choose this option to have the course assessors record the attendance instead.
The attendance record can be collected using the checkbox gradebook item feature. This feature is only accessible to course assessors with the appropriate permission role, and therefore, cannot be accessed, edited, or modified by learners.
For more information on how to set up the checkbox gradebook item, please refer to the article What is Checkbox on OpenLearning and where can you create them?